February 11, 2019
Irene Richardson
Fusing Q and A - Instructional for Newcomers and Seasoned Artists alike.
Over the years I have had many questions asked on the matter of fusing. To help people I have put together this easy to follow Q&A. I hope it is helpful and enlightening for you. Should you have more questions, simply ask, there is never a dumb or bad question in my opinion.
Q. Should I wear safety goggles and gloves?
A. Absolutely when working with glass it is very good to protect your eyes and hands. If you get a sliver of glass in your hand you can use tweezers and/or packing tape to remove it. If you get glass in your eyes have someone drive you to the Hospital IMMEDIATELY and KEEP YOUR EYE LID OPEN so the glass does not cut your eye worse.
Q. Should I clean my glass?
A. YES, even fingerprints will show on your work so be sure to clean your glass and not touch the top and bottom with your bare hands. Rubbing Alcohol and Flour Sack towels work best! Other towels will leave lint on the project.
Q. Should I glue my pieces together?
A. Yes. When moving your glass, when adding more items into the kiln and just closing the kiln lid can move your pieces. A small amount of Elmers school glue on the edge of the glass in a couple of places will help it to stay where you intend. One of my students brought in some glue from the dollar tree and used it. Well it was full of dirt and that stayed in her art. Darn!
Q. How do I clean the glue from my art, should a spot or two be present when not intended?
A. I use a soft bristled paint brush, putting rubbing alcohol on the bristles then rub it onto the glue spot then wipe the bristles on my towel then rub a bit more on the glue spot then repeat until the glass is clean.
Q. How can I paint with Glass Powders?
A. I use a 2oz food portion cup and put some powder in it then add Non-Aereosol Hair Spray in it. I then spoon out the wet powder and move it around on the glass with short food skewers, tooth picks, paint brushes and other tools to move it to the position that I desire. It can be dried with a hair dryer.
Q. How can I dry the glue faster so that I can move my project?
A. A hair dryer is the best way. Be sure to not blow off powders and frits. I usually dry with a hair dryer then add powders and frits.
Q. If there is a metal coating such as Irid or Dichroic on the glass can I put the metal to metal?
A. Not Recommended, the metal coatings will not connect in a desirable way. I recommend that you put Glass to Metal when creating your art.(even by adding glass frit or powder can be enough to make the glass adhere.)
Q. How can you tell which side of the glass has metal on it?
A. If you put a POINTED instrument on the glass and see the reflection in a TIP TO TIP fashion then you are looking at the metal side. If you see distance between the tip of your instrument and the reflection then you are on the glass side. Another way to tell is to scratch the glass with your fingernail. On the metal side it will make an awful sound.
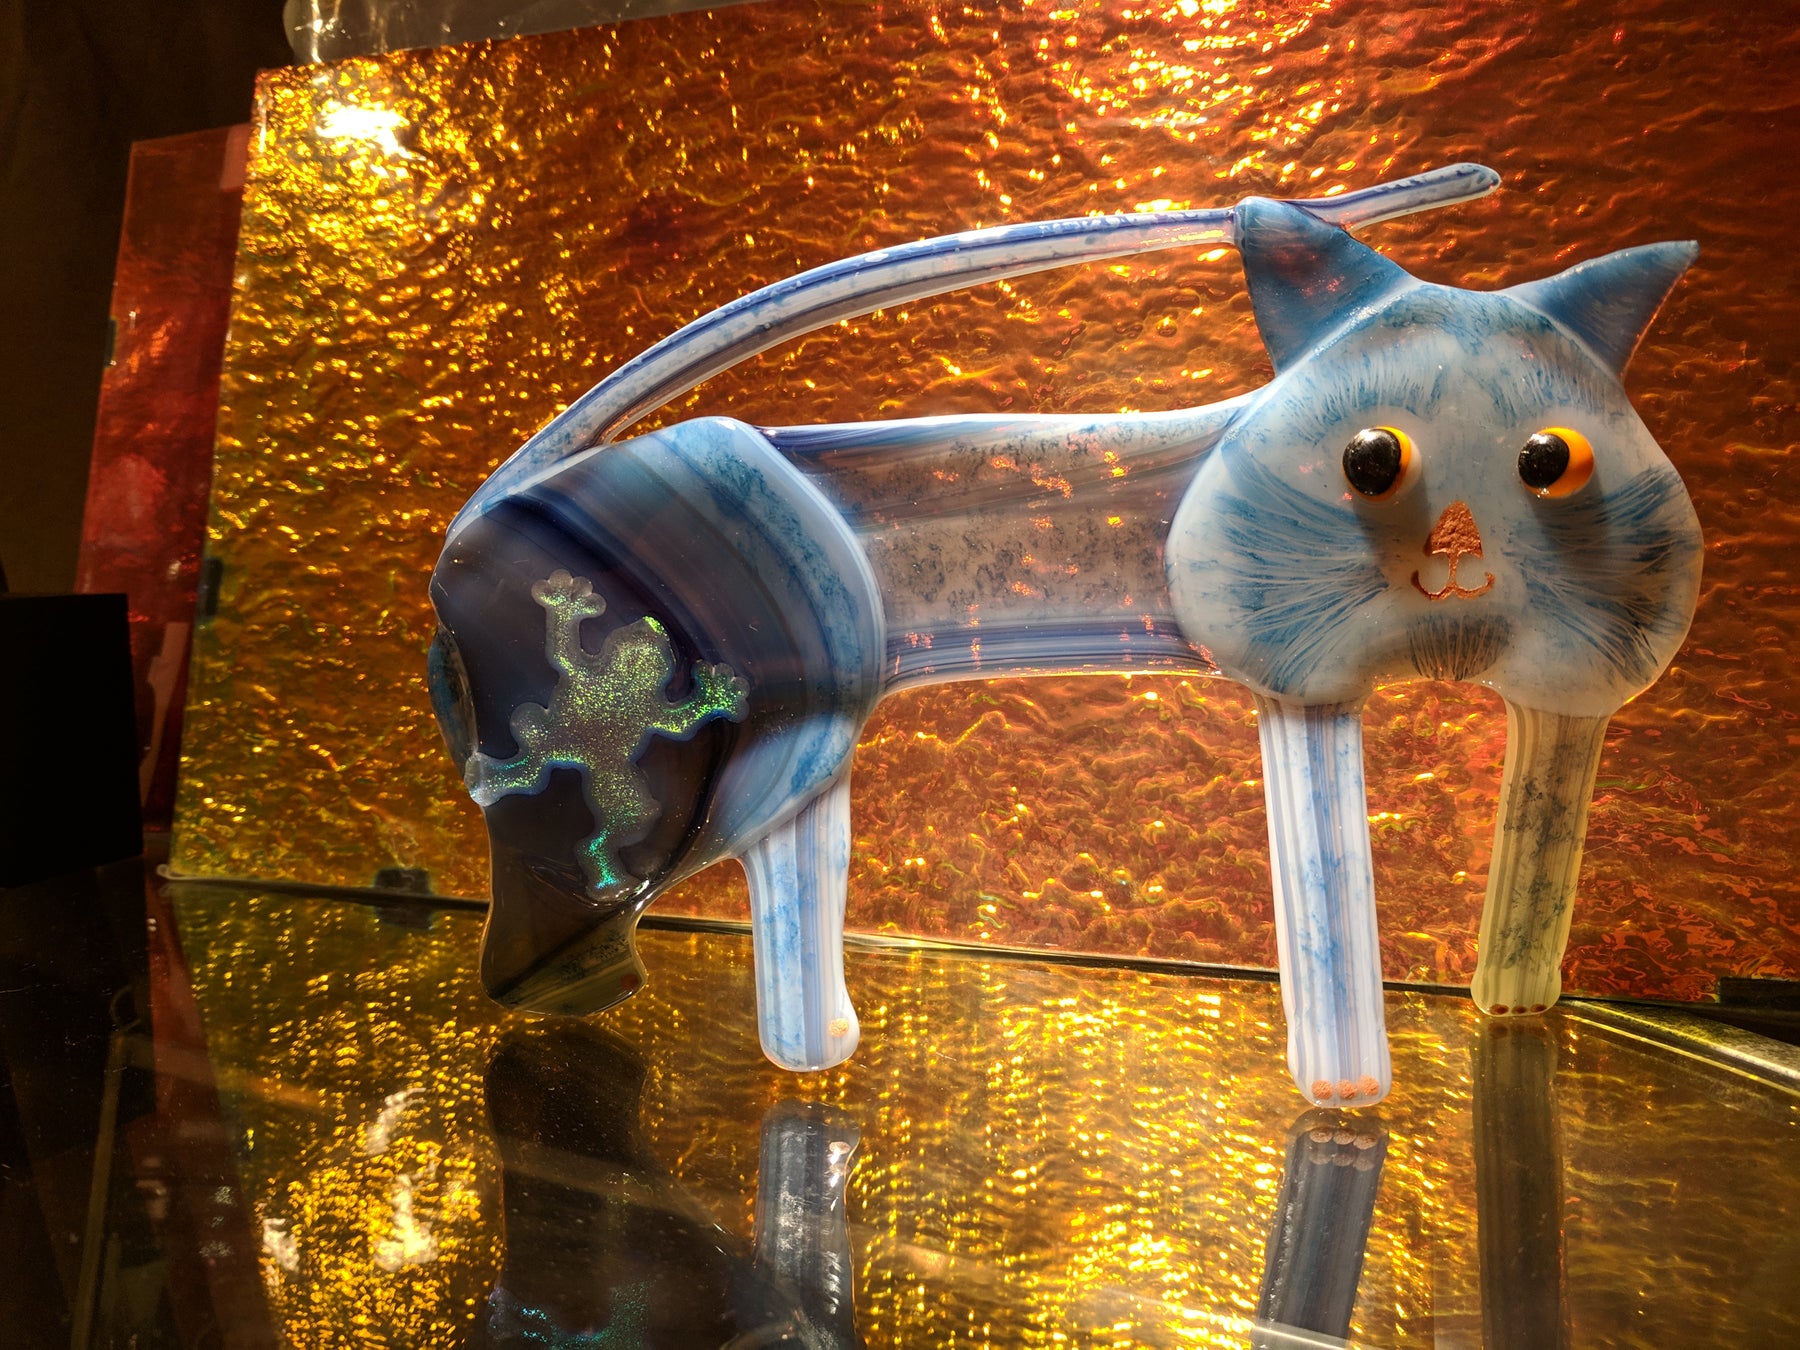
Q. What will my work look like after it is fused?
A. We have chosen a dimensional fuse for our project. Take a look at the examples and that will give you an idea of the dimension that your piece will have when done.
Q. Can I fuse a piece more than once?
A. Absolutely, you can fuse then add more and fuse again. You can fuse as many times as you wish to change your project.
Q. Will fusing more than once affect the softness of the glass?
A. YES, each time that you fuse it makes the glass a little softer. The existing prior fused pieces will need a little less heat to get it to the same dimension that it is.
Q. What is COE?
A. COE is the coeffiency of the glass that you use to fuse with. The Lower the NUMBER of COE the HARDER the glass is.
Q. Can I fuse any glass together?
A. NO. The glass that you fuse together needs to be of the same coefficiency in order to not crack or break.
Q. What kind of shelf primer should I use.
A. We use Hi-fire Primer. It withstands higher heat and lasts longer. We also use Bullseye Thinfire paper under the art to protect the shelves. By using the Hi-Fire primer I don't have to strip and re-coat my kiln shelves.
Q. How do you strip and re-coat a kiln shelf?
A. If it is a small shelf I set it in my sink and let it soak in water for about a half hour. (if it is a large shelf then into the bathtub it goes....) While still wet and using water I use sheet rock sand paper to sand off the old primer.
Q. How do you prepare the recently stripped shelf with new primer?
A. I make sure the shelf is dry. Either by letting it dry at room temp for a couple of days or firing it in the kiln. To kiln dry I use a 1 segment recipe. It is........ 1 9999 500 degrees Hold for 20 minutes. Nothing else is in the kiln when I do this.
Q. How do you apply the Hi-Fire Primer?
A. I put on one coat in a lawn mowering look fashion then dry that with a hair dryer.
Once dry then I add another coat in the same manner in a different direction then dry with a hair dryer. Then go in another direction in the same lawn mower style then dry.
I end up doing 5 coats by the time I am done.
Q. What if I want a textured look for the bottom of all of my art. Kind of like my signature style?
A. You can actually do a design with the Hi-Fire primer while applying it. Use your imagination. (Bonus idea...... You can take the dry Hi-Fire primer and drizzle it on your shelf where your art will be and do a design in the bottom of your art that way.
Q. What do you use to coat your slumping molds?
A. Most of the time I use Hi-fire primer. That just makes sense and I never have to coat them again.
Q. What if the manufacturer recommends a Boron Nitride Spray.
A. Then I would say for you to go with what they recommend for sure.
Q. Why does my kiln cook the glass different when I plug it in at a different location OR when I use one of my other kilns?
A. Depending on the kiln that is being used, (kilns can fuse things different even though we use the same recipe, some kilns are hotter than others), and even what plug in that is used may change the amount of current to the kiln. **A test fire is always recommended prior to fusing your art. See you owners’ manual on how to test fire, this is a very important step to know your kiln and its’ firing temperatures.
Q. Why do I get bubbles in my work?
A. Bubbles come into glass when the glass below becomes encased too soon and the bubbles are trapped air.
Q. How can I stop bubbles from coming into my work?
A. The initial ramp up temperature should be low enough to allow air to be pushed out. Also, at 1000 degrees the kiln should be programmed to go up at a rate of 60 degrees per hour to 1300 degrees for COE 96, (Spectrum). This is when air gets pushed out.
(A lot of us call this the bubble squeeze segment.)
Q. What is annealing?
A. Annealing is when all of the elements that were used to create the glass are given the correct temperature for the correct amount of time to all come back together to be back in harmony.
Q. What happens if I don’t anneal at the right temperature and time?
A. The fused piece will crack apart.
Q. Can I over anneal? Can I cook smaller art in with larger Art?
A. If we are fusing a 4” square that is 2 pieces thick we can also fuse in the same firing a 20” square that is 3 pieces thick and have success. Do the normal recipe as you would for the 20” and the 4” will be fine.
Q. Can I full fuse and dimensional fuse in the same firing?
A. That does not work. Think about putting the same finished look in the kiln. All full fuse goes into the full fuse cooking of the day. All dimensional fuse go into the cooking of the day. All Slumping goes into the cooking of the day.
Q. How do I choose a firing recipe?
A. Look at your project and determine the size and thickness and adjust your recipe accordingly. Larger and thicker projects need to ramp up slower and anneal longer. I have a recipe for a 22” Circle that has 6 pieces thick to make a sink and it takes 5 days to fuse and 5 days to slump.
Q. Can you show me a fusing recipe and explain it?
A. Yes, see below.
Firing COE 96 Desired effect is dimensional fuse.
3 Layers thick and approximately 4” in diameter
Segment Ramp Temp Hold
1 200* 1000* .10
2 60* 1300* .01 This is known as “bubble squeeze”.
3 400* 1375* . 05 1325 to 1375 is for dimensional fuse in my kilns.
4 9999/AFAP 950* .60 First anneal.
5 100* 800* .30 Second anneal. Always half the time of the first anneal.
**9999 /AFAP means as fast as possible….
Q. What do the headings mean for the recipe?
A: See below:
SEGMENT - This is telling us which step that the fusing process is in.
RAMP - This tell us how quickly that the temperature is to be raised per hour in the cooking process.
IE; in one hour 300 degrees will be added to the kiln in step one of this recipe.
It will take 4 hours for the kiln to reach the TEMP of 1200*
TEMP - This tells us the target temperature that the kiln is to go to.
HOLD - This is the amount of time in minutes that we wish for the kiln to stay at the TEMP that was targeted.
Some programmable kilns will convert your 60 minutes into a look of 1.00. Don’t worry!
Thin Fire Paper Note:
Once Thin Fire Paper has been used/cooked it will be powdery.
This powdery substance is hazardous to your health and should not be breathed.
The glass will need to be handled carefully and rinsed with water.
The powder should be discarded not put down the drain of your sink.
Power outage:
If you are firing your kiln and there is a power outage Close the lid and/or install your kiln plugs and unplug the kiln.
Once the power turns back on you should run your firing from the beginning/start over fresh.
OOPSIES:
You can cut fused glass and use it in other Art. You can FRIT out your fused Art. It is never throw away!
To run the small kiln that is Non-Programmable – that has a Pyrometer:
• Open your kiln. If you have a kiln that has a Base, a Collar and a lid then have your kiln Base accessible.
It is easier to not have to install your art over the collar.
• Set your Kiln Shelf onto the Kiln Floor of the Base of your kiln.
• Set a piece of Thin Fire Paper onto your kiln shelf.
• Set your art onto the Thin Fire Paper so that it is not touching pieces that you don’t want it to.
(When loading the Art into the kiln do set the LITTLE IN THE MIDDLE)
This means if you have smaller/less mass pieces they will need to be in the middle of the kiln.
As the smaller pieces cook they cook faster than the larger pieces.
• If you have wires hanging out of your art, make sure they are on the shelf and not hanging beyond the shelf.
• Once the kiln is loaded with the Art then close/set the collar into place.
• Close/set the lid on top of the kiln with a space vented to allow impurities to escape.
(This is known as venting the kiln.)
• If you pieces are ½” diameter and two pieces thick then you can turn the kiln on High.
Turning the kiln on HIGH is also known as 9999 / AFAP on a Programmable kiln.
Size and Mass do matter!
(If you have larger and/or thicker pieces then go up at a slower pace in order to not stress crack the art).
• At around 1000 degrees on the Pyrometer the impurities will begin to burn out and the thin fire paper will turn black/dark brown.
Once the paper turns white again the kiln lid then can be closed.
• You can turn the kiln to around 4 to have more temperature come into the kiln.
“Do NOT leave the Kiln on High for the duration of your fuse.”
Once you see the glass look a bit wet that is where you need to hold
the temperature until the Art is in the dimension that you desire.
• Once that your Art looks the way you desire, Turn of the kiln and Open the lid to allow the kiln to come down in temperature to 1000 degrees.
When you see a firing program that says 9999 or AFAP this means as fast as possible and that is what you are doing by turning off the kiln and opening the lid to allow the heat to leave the kiln.
• Close the lid and hold the kiln at around 960 degrees for about 10 minutes for the ½” and two pieces thick Art.
• After your anneal and when the kiln is at 500 degrees you can then open/ remove the collar.
• If you wish to do another load you can remove the kiln shelf, putting it onto Kiln Posts so it won’t burn anything and do use Fire Rated Gloves to move it.
• Using your Fire Rated Gloves place your next load in and repeat the steps above.
NOTE: Be sure to adjust the recipe for size and thickness of your ART.
We can Tack Fuse, Dimensional Fuse, Full Fuse glass.
We can Paint on Glass using Paints that are rated for firing.
We can Paint on Glass using Powders and Frits.
We can use Methyl Cellulose to create 3 D Art.
We can use Glass Clays for making 3 D Art.
We can put scraps on a Screen propped up with kiln posts or kiln bricks then fused to flow down onto the kiln shelf.
We can Full fuse a piece then add other glass to it then do a dimensional fuse on top of it.
We can Slump the glass, weather fused or not, into a fusing mold and it will have a shape of the mold we use.
We can set slumped glass back into the kiln to flatten it out again by using the same slumping recipe that we used to slump it to have it go flat again. Then we can slump it into a different slumping mold if we desire.
We can Vitrigraph the fusible glass.
We can make our own Rods with the Vitrigraph kiln.
We can Rake Glass.
We can make our own sheet glass by fusing it then cutting it into shapes.
YES, we can cut and/or nip fused glass.
We can use a Hot Head and heat up ¼” Strips of glass and manipulate them.
We do not have to clean black marker from the glass before firing. It will burn off when we fire it.
Gray Sharpie will not burn off during firing. Can you use that to your advantage? Give it a try…..
Thin fire paper and fiber blankets can be used to put impressions into your art.
Fiber Blanket can be piled up to make neat designs between your pieces of glass. Fiber blanket comes in several thicknesses.
Fiber Board can be used in your art. You can carve it and have a lot of fun with it.
Yes we can put automotive fiberglass on the kiln shelf and put Irid glass side down on it and fuse.
(The texture of the fiberglass that you choose goes into the art)
Any automotive store should have some available, if not then google...
We can use Chalk to make holes in our fritted pieces.
We can slump on pieces of Chalk.
Our possibilities in fusing are endless and I look forward to adding more as you share your experiences and as they come to my mind or requested.